Seattle gets about 38 inches of rain a year in the form of steady, persistent moisture spread across roughly nine months. That consistency means Seattle basements get tested constantly. Water finds paths that typically wouldn’t matter in a drier climate: a hairline crack in a foundation wall, a slightly positive grade at the base of the house, a French drain that’s silted over. Any of these minor issues can mean a wet floor in February.
Typically, most Seattle homeowners only discover their basement’s moisture situation not when they move in, but when they go to remodel the space. The good news: most moisture problems in Seattle basements are fixable. The key is fixing them before you frame, insulate, and finish—not after because moisture that gets trapped behind drywall doesn’t go away. It breeds mold, rots framing, and eventually requires tearing out everything.
Consider this the ultimate checklist to work through before any basement project.
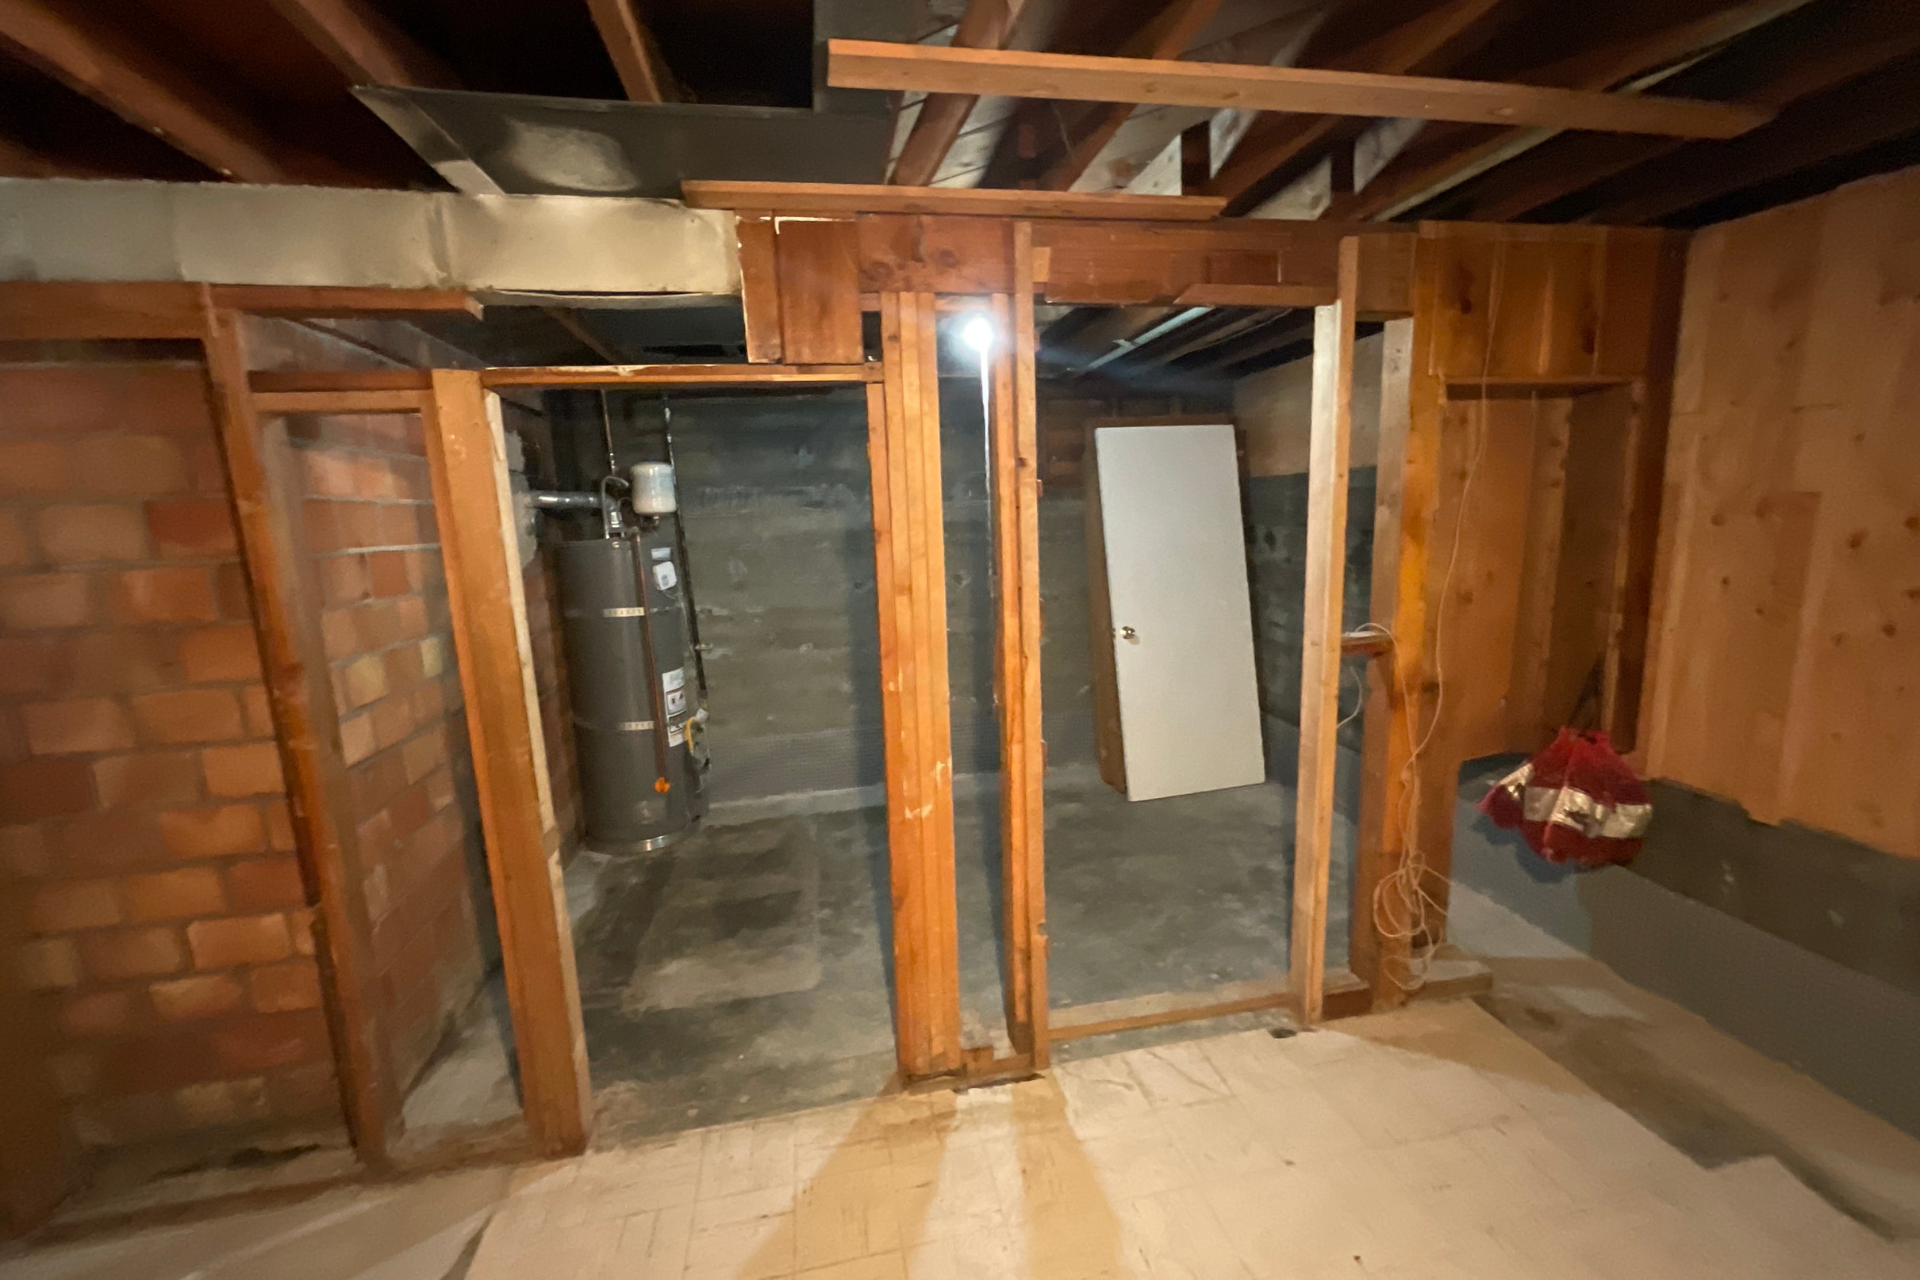
Does Your Seattle Basement Have a Moisture Problem? What to Know Before You Remodel
Start With a Wet Season Assessment
The best time to evaluate a basement for moisture is after a stretch of rain, ideally during the wet season, between October and April. If you’re planning a basement remodel and you haven’t spent time in the space during a rainy period, we suggest that you do that first. Walk the perimeter, look at the base of your walls, check corners, and look for efflorescence (the white mineral deposits left behind when water evaporates through concrete, a reliable indicator of water movement).
If you’re planning to start a project during a dry stretch, ask previous owners or yourself: has there ever been standing water? A damp smell after heavy rain? Rust stains at the base of a post? These are worth flagging even if the space looks dry in August.
Exterior Grading and Drainage
Most Seattle basement moisture problems start outside the house, not inside. The ground around your foundation should slope away from the house with at least 6″ of drop over the first ten feet. When soil settles, when landscaping is planted too close, or when your hardscaping directs water toward the foundation rather than away from it, you end up with water that pools against the foundation instead of running off.
Check your gutters and downspouts next. A clogged gutter overflows onto the soil at the base of the house. A downspout that drains directly at the foundation rather than through an extension that carries water at least four to six feet away concentrates drainage at the worst possible point. These are often the cheapest moisture fixes available and addressing them before any interior work is always the right sequence.
Foundation Walls: Cracks and Seepage
Concrete and masonry foundations develop cracks over time. This is totally normal, but not all cracks are equal. Horizontal cracks in a poured concrete or block foundation can indicate lateral pressure from soil and may need structural assessment. Vertical and diagonal cracks are more commonly settling-related and often non-structural, but they can still let water in.
To assess, run your hand along your foundation walls after a rain. Damp concrete that doesn’t have a visible crack might be allowing water to soak through the porous material itself, which is common in older Seattle homes with block or rubble stone foundations. Interior waterproofing membrane systems or exterior excavation and waterproofing can address this, but it requires assessment first to determine which approach is appropriate.

Sump Pumps
A sump pump essentially collects water that makes it past the exterior and interior drainage and pumps it away from the foundation. Not every Seattle basement needs one, but if your basement has had any history of water coming in, if your lot is in a low area, or if you’re converting the space to an ADU, a sump pump is worth serious consideration.
We recommend checking these things if you have an existing sump pump: Is it functional? Has it been tested recently? Does it have a backup power supply or battery backup? Sump pumps can fail, usually at the worst possible moment, so it’s best to be prepared.
Interior Drainage Systems
When exterior grading and surface waterproofing aren’t sufficient, the next line of defense is an interior drainage system such as a perimeter channel cut into the concrete floor at the base of the walls that is then connected to a sump pit. Water that comes through the foundation is captured in the channel and directed to the sump rather than pooling on the floor.
Interior drainage systems are effective, but not inexpensive. They require cutting the slab, installing the drainage channel, patching the concrete, and connecting to a sump. This work has to happen before framing, because the drainage channel runs at the base of the wall where the framing will sit.
Vapor Barriers
Even in a basement that isn’t actively wet, moisture vapor migrates up through the concrete slab and through below-grade walls. A vapor barrier, which is typically a thick polyethylene sheeting sealed at the seams and edges, is installed before insulation and framing to slow this migration. In Seattle’s climate, a vapor barrier is a baseline requirement for any finished basement and definitely not an optional upgrade.
The specifics matter, too. The vapor barrier needs to be the right thickness, properly sealed, and installed on the correct side of the insulation. If this is done incorrectly, you can trap moisture rather than managing it.
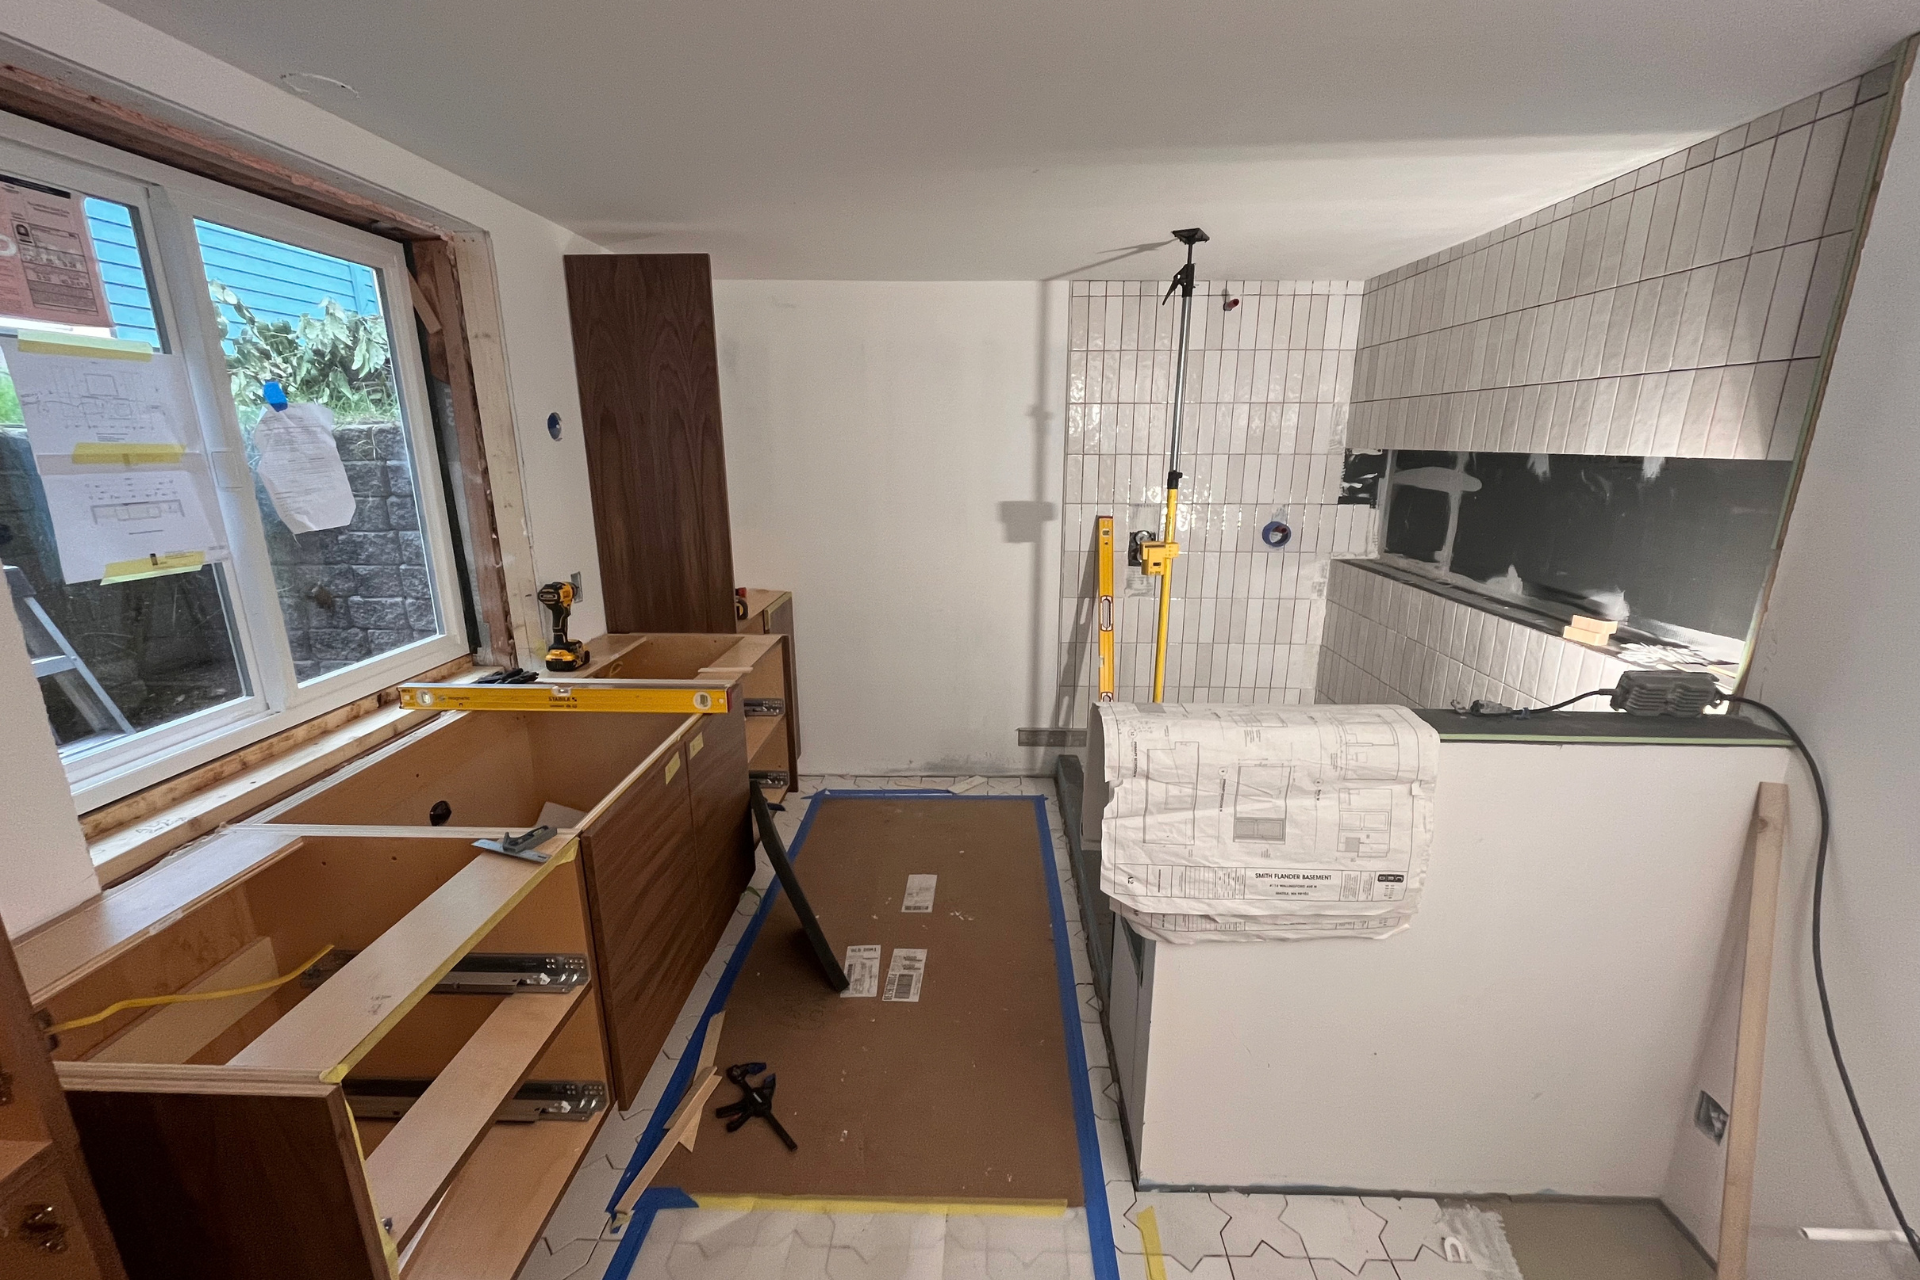
Insulation and the Mold Risk
Fiberglass batt insulation in basement walls is a common choice in Seattle which could cause some issues. Fiberglass holds moisture, doesn’t dry out well, and creates the conditions for mold growth when it gets wet even just once. Closed-cell spray foam or rigid foam board insulation are much better choices for below-grade applications in our climate. They don’t absorb moisture, they add meaningful R-value, and they can be installed directly against the foundation wall without the thermal gap that creates condensation issues.
If you’re remodeling a basement that has existing fiberglass insulation against below-grade walls, it’s worth pulling it out and assessing what’s behind it before you proceed. We’ve found mold, rot, and water damage behind basement insulation more times than we can count. Better to know before the new framing goes in!
When to Call a Structural Engineer
Most moisture issues in Seattle basements are drainage and waterproofing problems, not structural ones. But a few conditions could warrant consulting with a structural engineer before any work begins:
- Horizontal cracks in a poured concrete or block foundation wall, particularly if they’re wider at one end or show signs of movement
- Evidence of a bowing or leaning foundation wall, visible from inside the basement
- Any foundation condition in a home that’s had a seismic event, significant nearby excavation, or known soil movement issues
- A basement that needs a dig-down to create usable ceiling height because this involves underpinning the existing foundation and requires engineered plans

We’ve walked through a lot of basements over our 45 years in business! The ones that end up costing homeowners the most money are the ones where finish work was done first without addressing the moisture conditions underneath. The right sequence is always: assess the moisture conditions, address whatever needs addressing, let the fixes prove themselves over at least one wet season, and then frame and finish. This may feel lengthy, but it’s the only approach that produces a basement that stays dry.
Ready to tackle your basement? Contact CRD Design Build to schedule a consultation. We’ll walk your basement, assess the conditions, and give you a clear picture of what needs to happen before any finish work begins.