Textured tiles are an excellent option for flooring because they are stylish, safe, and durable when properly maintained. However, cleaning textured tile floors can be a bit tricky, as the texture and grout create cracks where dirt can hide. But don’t worry—cleaning these floors doesn’t have to be a chore with the right tools and methods.
What is Textured Tile?
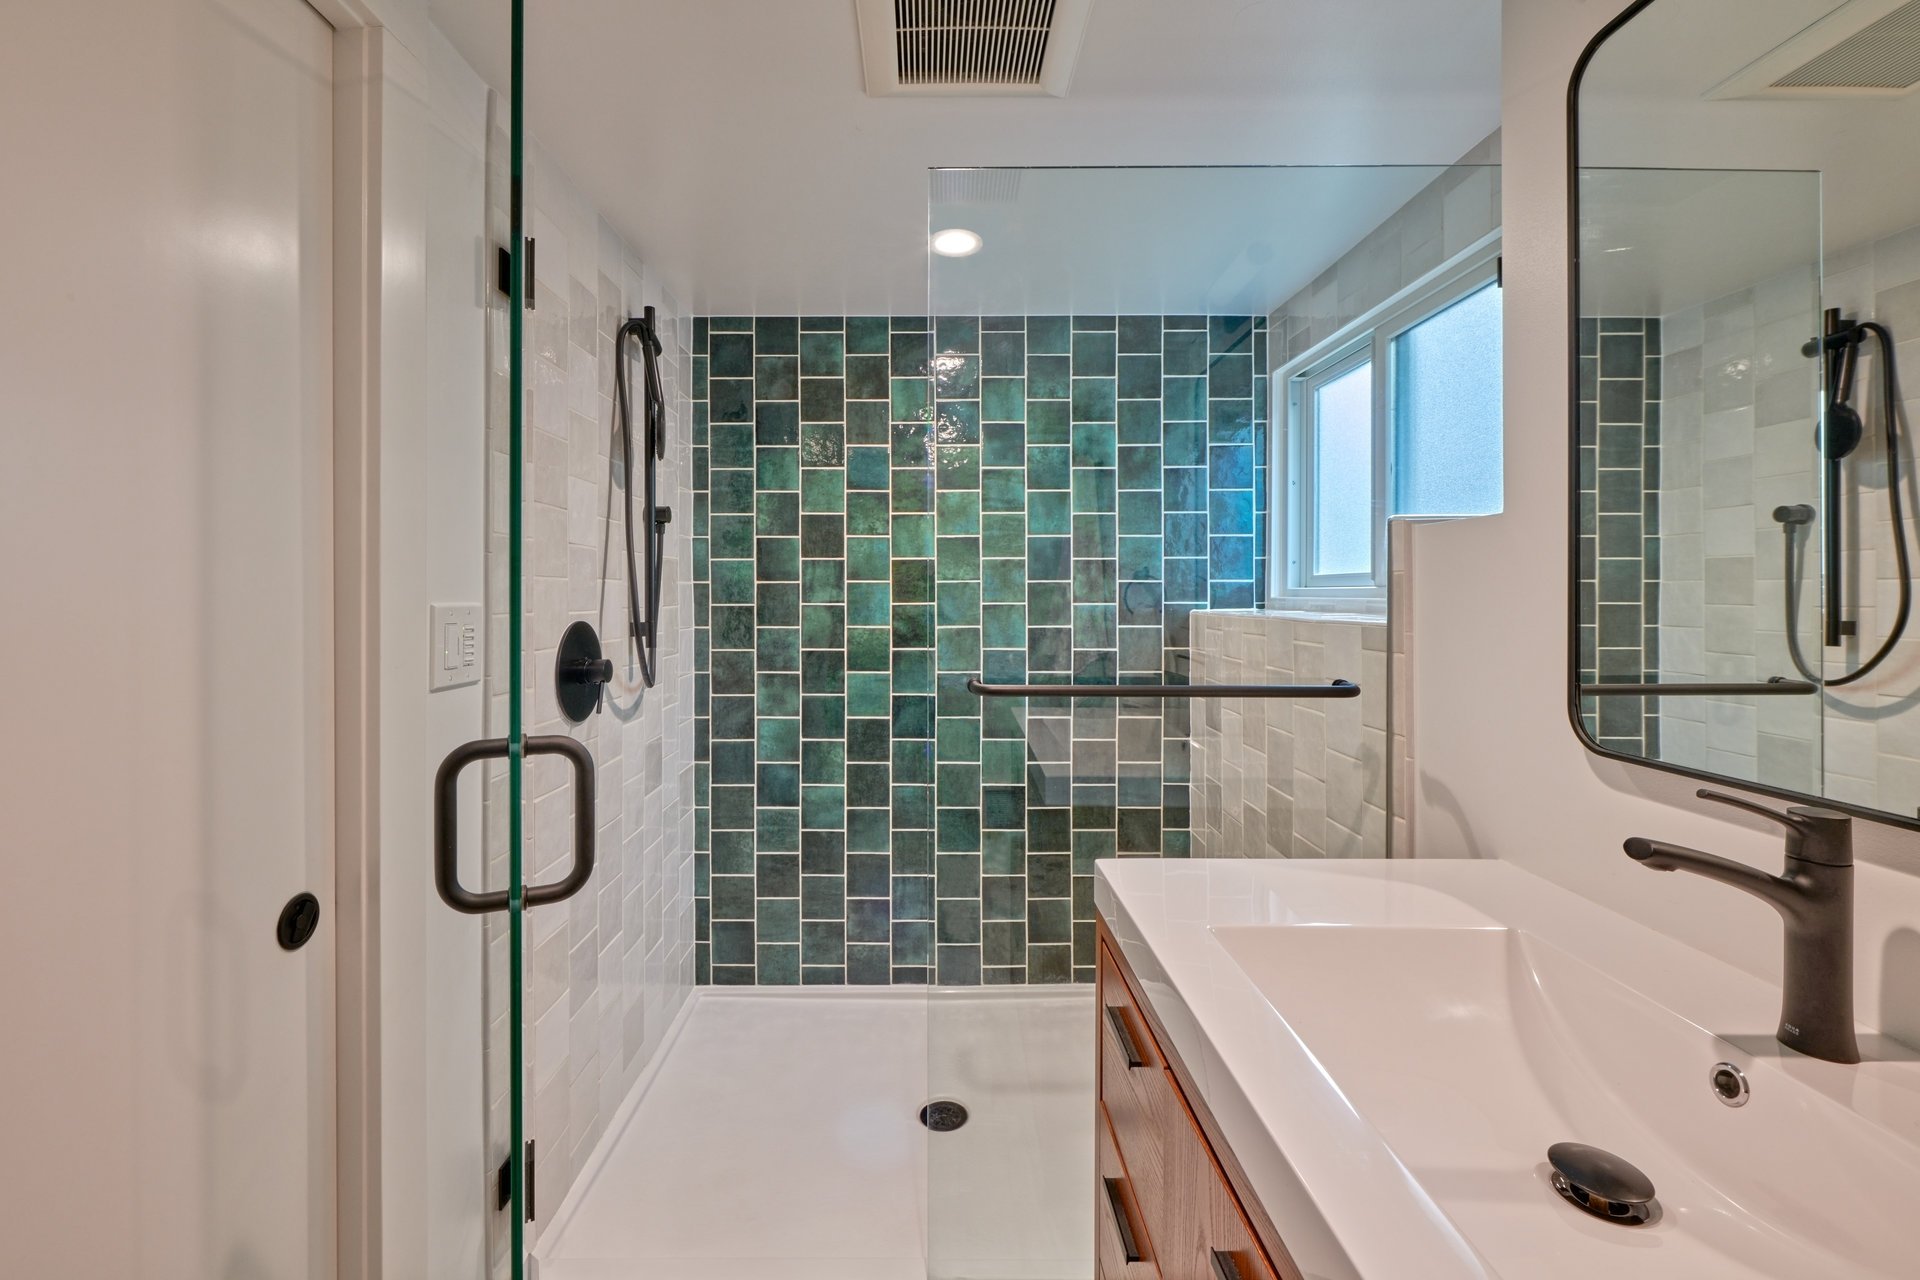
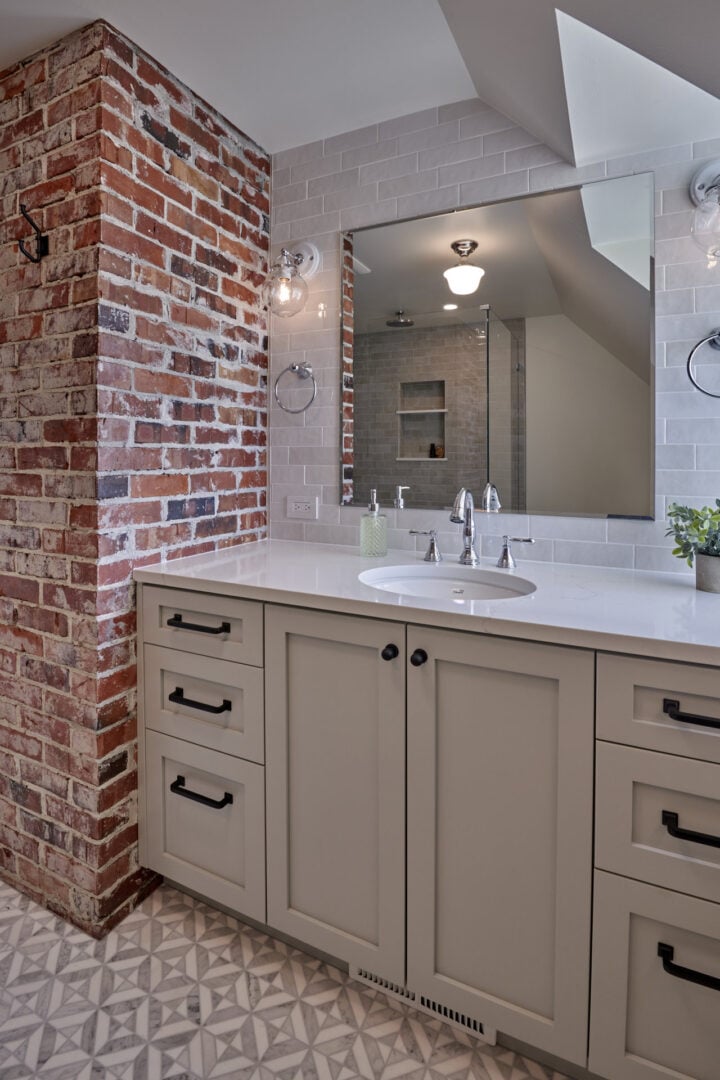
First off, what do we mean when we say “textured tile?” Textured tile refers to any flooring surface that isn’t perfectly smooth or polished. Textured flooring is a safer option, particularly in areas that often get wet, like kitchens or bathrooms, because it’s much less slippery.
Here are a few examples of the most common textured floor tiles:
Wood-Look Tile
Porcelain or ceramic tile that is designed to resemble wood planks or parquet is an increasingly popular flooring option. The best examples are almost indistinguishable from the real thing, but faux wood tile is totally resistant to water and never needs to be refinished. It’s an excellent choice for kitchens, bathrooms, mudrooms and even living spaces.
Other Textured Ceramics
Textured ceramic tile comes in a wide array of patterns, shapes, and sizes, from large-format tile to tiny mosaics. Some textured ceramic tile mimics natural stone, while others feature bold colors or geometric patterns, making them a versatile choice for homeowners.

Natural Stone
Cut into uniform shapes, natural stone tile adds classic good looks to any room. Stone like slate, granite, quartzite, travertine, sandstone, and marble are popular choices. Some are polished slick, but for damp areas, I recommend more of a honed or tumbled finish. Some natural stones may have their own cleaning requirements, but the steam method outlined below is usually a safe choice because it is chemical-free and won’t react with the stone.
How to Clean Textured Tile Floors Easily and Effectively with Steam
One of the best ways to clean textured tile floors is to use a steam mop, a tool that uses hot steam to lift dirt and grime while disinfecting your floors. Steam cleaning is chemical-free, making it safe for both your home and the environment. Plus, it works on a variety of flooring types, including ceramic, porcelain, natural stone, vinyl, laminate, and even some wood floors.
My home in Ballard had stained concrete flooring, which is similar to textured ceramic tile. I got very poor results when I tried to wet mop the floor, as the cleaners would leave unsightly residue, and the damp mop just seemed to push the dirt around. When I switched to the steam method below, my floors became much easier to maintain.
Step-By-Step Guide to Steam-Cleaning Ceramic Tile Floors

Step 1: Remove Loose Dirt
Start by vacuuming or sweeping the floor to remove loose dirt, dust, and debris. Skipping this step can result in streaks or uneven cleaning with the steam mop. A quick sweep ensures the best results.
Step 2: Attach a Clean Microfiber Pad
Fit a fresh microfiber pad onto your steam mop. Most pads are washable and reusable, so make sure they’re clean before starting. If your floor is especially dirty, keep extra pads on hand to switch out during cleaning. I found that generally, one pad would clean one large room or two smaller rooms.
Step 3: Start Steam-Cleaning
Now it’s time to clean! Work in sections, starting on one side of the room. Push the steam mop slowly in front of you while walking backward, and avoid stepping on the wet floor. Be careful not to let the mop sit in one spot too long, as the heat could damage sensitive tiles, though this is rare with textured surfaces.
Step 4: Let the Floor Dry
Allow the floor to air dry for 5–10 minutes. Steam cleaning uses minimal water, so your floors will dry quickly. Your floor is clean at this point and the steam has disinfected it to some degree (depending on how hot the surface got during cleaning).
Step 5: Seal or Polish (Optional)
If desired, apply a floor polish or sealer to add a glossy finish or protect your tiles. Once the surface of your floor is totally clean, you can choose to seal it with a liquid floor polish, which leaves a hard, glossy coating when it dries. Personally, I liked the glossy look on my concrete floors, but I definitely wouldn’t have used this type of product on matte-finish ceramic tile or tumbled stone tile. I used mostly ZEP products (High-Traffic Floor Polish or Wet Look Floor Polish; the results looked the same to me). Bona and Quick Shine make similar products, but they don’t seem to be as readily available in the gallon size as ZEP.
To apply, get a heavy-duty microfiber mop with a flat head. (Your lightweight Swiffer-type mop won’t be very easy to use.) Put the floor polish in a small squirt bottle and squirt a small amount onto the totally clean floor. Be sure to plan your application because you won’t be able to walk on the fresh polish until it dries. Use the microfiber mop to spread a thin coating of the polish evenly over the floor. Don’t leave any dry spots or puddles. Let the floor dry for about 15 minutes and you’re done.
Stripping Floor Polish
The manufacturers recommend periodically stripping the layers of polish away with another product made for that purpose. I kept waiting for my floors to become dull with layer after layer of polish, but they never did, so I only had to strip the floor once in several years.
How to Deep-Clean Textured Tile & Grout
If you have tried the steam-cleaning method above and your textured tiles or grout lines still look dirty, it may be time for a deeper clean. Here’s an effective DIY method using baking soda and vinegar:
Step 1: Vacuum or Sweep
Remove loose dirt. Vacuum or sweep dust and debris from the floor. For sweeping, use a soft bristle broom and sweep in two directions. Follow the path of the tiles first, then sweep diagonally to ensure a thorough cleaning. If you have previously applied tile sealer or polish over dirty tiles or grout, you will have to use a removal product before deep cleaning. (See the “Stripping floor polish” section above.)
Step 2: Make a Baking Soda Paste
Mix baking soda with water to create a paste. This natural abrasive is safe and effective for scrubbing away dirt and stains.
Step 3: Scrub the Tile and Grout
Dip a handheld scrub brush with fairly soft bristles into the paste and scrub it into the tile, focusing especially on any obvious stains and the grout.
Step 4: Make a Vinegar Solution
While the baking soda mixture begins to do its work, mix up a 50-50 solution of distilled vinegar and water in a spray bottle. Spray it liberally over your baking-soda-covered tile. You will see the acid in the vinegar react with the alkaline baking soda mixture and fizz up. The fizzing reaction helps lift dirt and grime without harsh chemicals. Do some more scrubbing and then let the mixture sit for about five minutes.
Step 5: Rinse Thoroughly
Now it’s time to rinse. Fill a clean bucket with fresh water and grab a mop. Make sure your mop head is clean or else you will just be adding dirt back to your floor. Use the wet mop to remove all the baking soda and vinegar from the floor. Rinse the mop frequently in the bucket and wring it out. As soon as the rinse water becomes visibly dirty, dump it out and refill the bucket with fresh water.
Why Choose Steam Cleaning for Textured Tiles?
- Chemical-Free Cleaning: Steam mops use only water, making them a safe option for homes with kids or pets
- Versatile: Works on a variety of flooring materials
- Effective on Grout: The high temperature of the steam helps loosen dirt from grout lines
- Time-Saving: Quick drying times mean you can clean and go about your day
Planning a remodel? Let’s talk!
Textured tile floors are a beautiful addition to your home. If you’re considering a remodel of your bathroom, kitchen or your entire home, contact us and we’ll get the job done. Please don’t hesitate to get in touch with us today to discuss your ideas. We will be happy to help you plan the next steps.