Basements tend to be dank, dark, unloved places, especially in our older Seattle homes. The walls are damp, and a mildew odor pervades. Most people prefer to spend as little time in their basement as possible, going down there just to throw some laundry in the washer or grab something out of a storage box. That’s a shame, because basements, even in damp Seattle, can be warm, dry, inviting spaces. Read on to find out how you can waterproof your basement once and for all. It may be easier than you think!
See also: Mold 101: What to Do if You Find Mold in Your Seattle Home
Where is the water getting in?

When tracking down a leak, remember that water follows two rules: 1) It is pulled by gravity and always runs toward the ground; and 2) water takes the path of least resistance. If you keep these two principals in mind, you will be able to “think” like water and more easily discover the point of entry.
Take a close look at the walls of your basement. Look for areas that are particularly damp. If you notice an inverted V pattern of dampness starting toward the ceiling, chances are that your exterior landscaping is to blame. Another sign that you need to address your landscaping is if the dampness gets much worse after a heavy rain.
Start from the outside in
When attempting to cure a wet basement, most people reach for some sort of sealer product to coat their interior foundation walls. This can serve as a last defense, but you should first focus your attention on why your foundation may be getting wet in the first place. Often, it is an issue with your downspouts and landscaping. That’s good news because the fix can be quite simple.
Survey your yard
Grab a level if you have one and check the slope of your yard where it meets your house, focusing on the areas where the dampness is concentrated within. If you don’t have a long level, just eyeball it. You are looking for areas where the soil is sloping toward your foundation rather than away, as it should be. Also look for any areas where landscaping edging material could cause water to pool up, or where the soil is sunken.
Call in a landscaper or fix it yourself
Your goal will be to regrade the soil so that it slopes away from your foundation. You (or a landscaper) will be adding fill dirt to achieve the desired gentle slope. Shoot for about 1 inch of slope per foot, extending the sloped soil from your foundation to about 6 feet out. Most likely, you will have to add fill dirt to achieve this. You can buy it by the bag, or if you have a large area that needs attention, call up a company like the Dirt Exchange in Ballard to deliver the right quantity by truck. You can save some money by ordering fill dirt, but if you plan to grow anything along the sides of your house, you should opt for high-quality topsoil, like the Dirt Exchange’s Two-Way Topsoil. Avoid using pure compost or a soil with greater than 50% organic content. It will break down and your slope will sink back to where it started.
Our top Seattle landscaper pick
Handy Hands (Robert Olsen)
206-321-9994
Tamp it down
Use a hand tamper or rent a gas-powered tamper to firmly compact the soil into your desired slope. Be sure that the top of the soil where it meets your foundation is at least 6 inches below your siding to avoid issues with pests and rot.
Lay down a sheet of plastic
Simply regrading your soil may be enough to solve the problem, but for extra insurance, you can put down a layer of black poly sheeting. (Plastic that is 6 millimeters thick works well and is available at any home improvement or landscaping store.) It should cover the 6-foot-wide area you have graded along your foundation. Anchor the plastic securely and cover it with bark mulch.
Remove excess plants
The roots from small trees and shrubs planted close to your home can serve as conduits for water, and they can even creep into cracks in your foundation, widening them over the years. If possible, remove any shrubs with deep tap roots that are not essential to your landscaping.
Check your sprinkler system
If you have an automatic irrigation system for your yard, make sure that sprinkler heads are not pointed at your house. Also make sure that irrigation water is not pooling up within 6 feet of your foundation.
Fix your downspouts

If some sections of your roof don’t have gutters, add them. If your downspouts are leaky or end too close to your foundation, they are likely the source of your basement leaks. Downspouts should end at least 6 feet from your foundation, dropping the water well away from where it could flow back into your basement.
See also: How to Cut Your Second Story Addition Budget in Half
Consider a rain garden

Rain gardens are a landscaping feature that collects runoff from your roof via your gutters and diverts it to a shallow indentation in your yard. There, the water slowly infiltrates the soil in your yard. During heavy rains, this diverts large volumes of water from the city’s sewer system, which reduces the strain on your local sewage treatment plant and helping to prevent dangerous overflows of raw sewage into the Puget Sound and other local waterways. King County and Seattle offer the RainWise program, which gives rebates to homeowners who install a rain garden or cistern.
Plug cracks and seal your foundation
If there are visible cracks and holes in your foundation walls, you can patch and fill them with hydraulic cement, which is formulated to work in damp conditions. Once your foundation walls are completely patched, you can consider applying a waterproof coating specifically made for basements. Follow the directions closely, paying attention to surface preparation and the thickness of the coats.
See also: Foundation Problems 101
It could be condensation
Dampness in your basement may not be caused by exterior moisture intrusion at all. Instead it could be that moist interior air is condensing on cool surfaces. The cure is to eliminate excess humidity and insulate. Check your dryer vent pipe and make sure it is sealed tightly. If you have a basement shower, make sure you always run the bath fan when you use it. Add foam insulation to cold water pipes. If you are certain water isn’t leaking in from the outside, you can add rigid foam insulation to your basement walls.
Our Top Seattle Insulation Installer Pick
Magellan Insulation
425-864-8586
Interior perimeter drain
If, after following the steps above, your basement is still damp, you may have to turn to more drastic measures, such as installing an interior perimeter drain system and sump pump. These systems collect water that forces its way through the basement walls or foundation. Perimeter drains are especially good at collecting water at the floor-wall joint, a common point of entry. Installing one of these systems is a big job, and you will likely want to hire a contractor to do it. Expect to pay over $10,000. There are a number of systems available, from traditional French drains that use perforated pipe to collect and channel the water, to proprietary systems that cost more but can be installed more quickly.
See also: Are Permits Required to Finish or Remodel a Basement in Seattle?
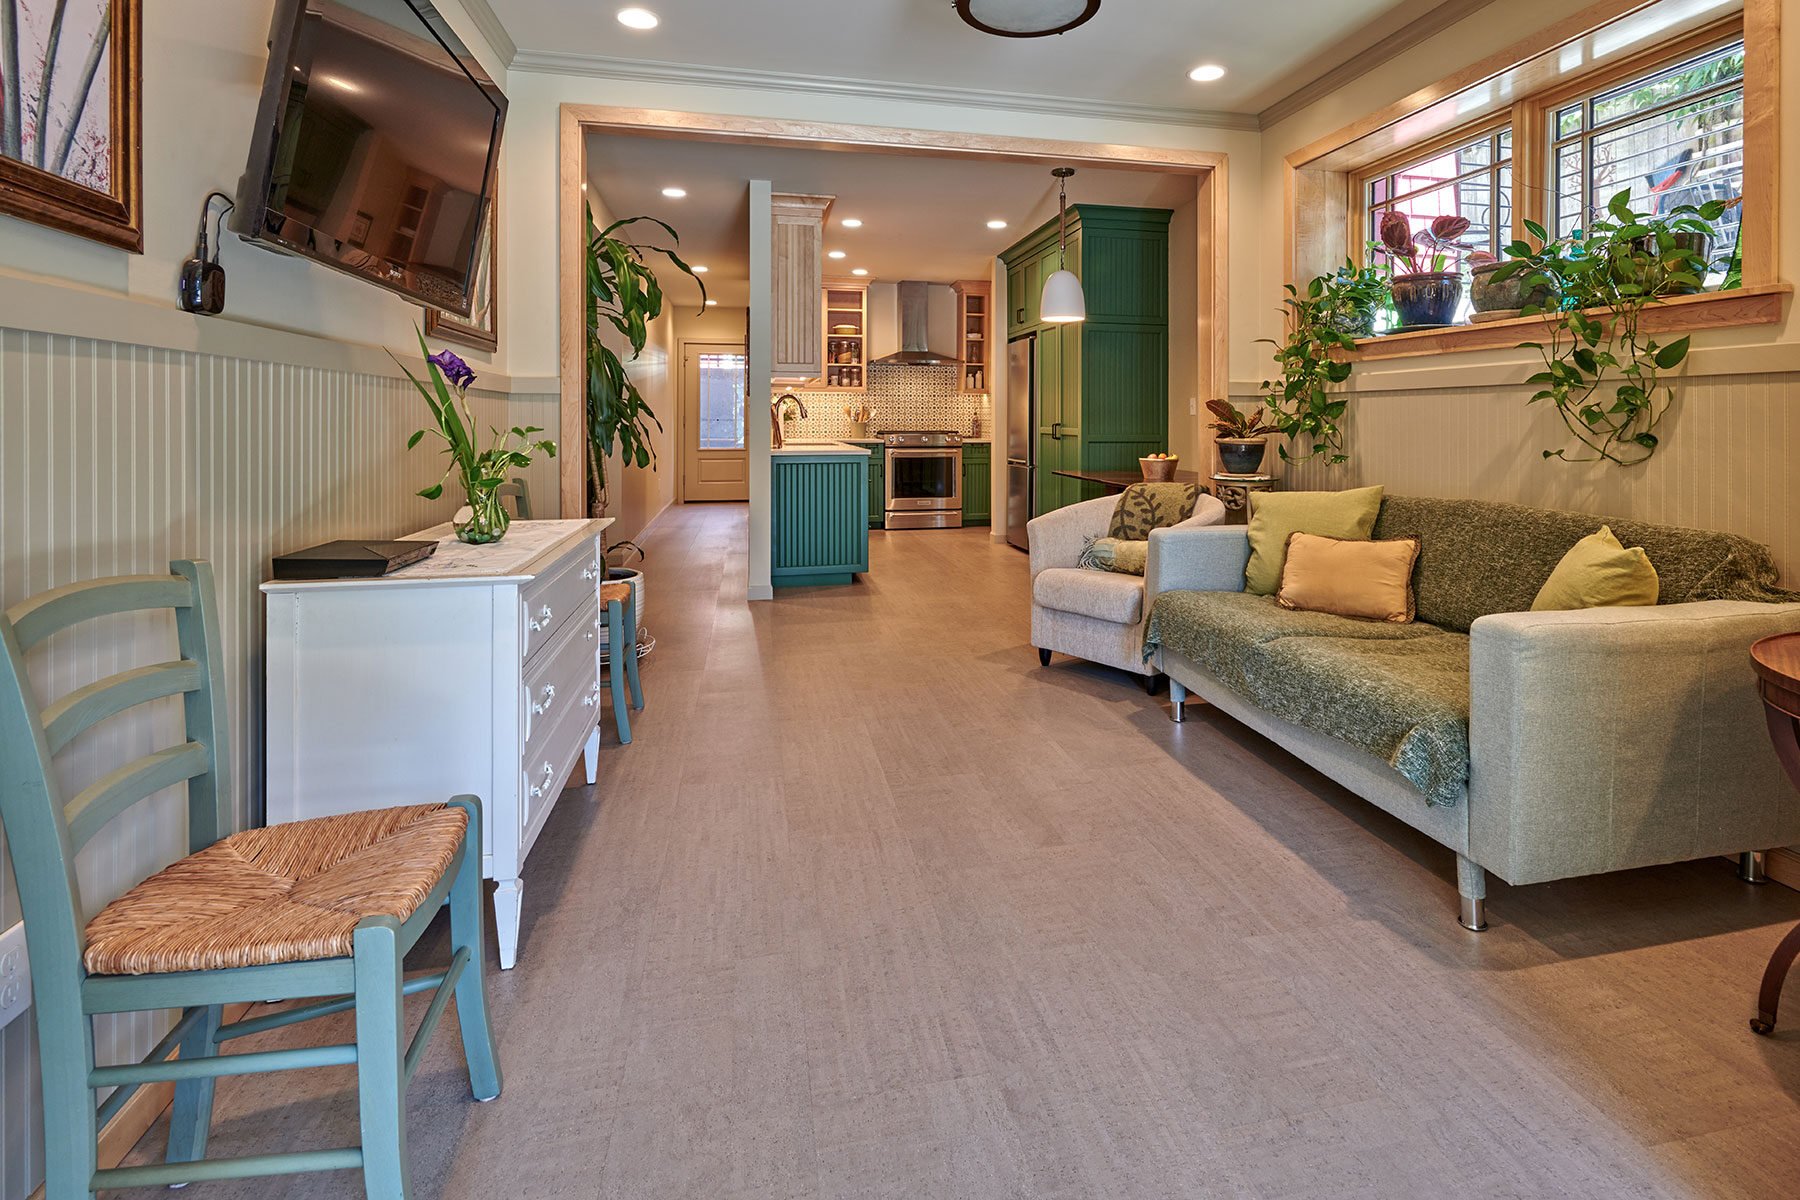
Starting a basement remodel

If you are planning to finish or remodel your basement, a good place to start is with a licensed contractor or designer. Our team here at CRD has decades of experience converting basements in older Seattle homes to bright, inviting, dry spaces. We’ve created luxurious master suites, family rooms for the kids, bedrooms for guests, and put bathrooms in places others thought not possible. We can dig down to add headroom or create a custom lighting plan for warmth and welcome. If you are interested in discussing your basement renovation, please don’t hesitate to get in touch.
Note: We make no claims or warranties as to the completeness or accuracy of the information on this page. We encourage you to confirm all information you read here with the appropriate regulatory agencies. Any action you take based on the information on this website is strictly at your own risk.